


Specifying Bespoke Joinery for London Client Projects

Updated: 2 days ago
Good bespoke joinery solves a specific need in a specific space. Specifying bespoke joinery for a client project means defining what the piece must do, how it should fit the room, and which materials and finishes suit the design. The result is made to measure rather than selected from standard dimensions.
That precision matters in London homes, where an alcove, chimney breast or carefully planned extension can shape the whole design. A clear brief also helps joinery work with lighting, sockets, plumbing and the wider programme, reducing the risk of late changes or awkward compromises.
This guide explains how to define the purpose and scope, choose timber and finishes, and coordinate the specification with your architect, interior designer and project team. You’ll see what information helps turn an idea into a considered design, and why samples, accurate dimensions and early communication matter. Whether you’re planning kitchen cabinetry, a fitted wardrobe or a home office, the goal is the same: a resolved piece where every detail has a purpose.
Table of Contents
What is Bespoke Joinery?
Bespoke joinery is designed and made for a particular space, purpose and vision. Specifying bespoke joinery for a client project starts by defining what the piece must do and how it should relate to the room. The programme has no fixed duration: design decisions, material selection, manufacture and site readiness all shape the timeframe.
Designing and installing bespoke joinery
Bespoke joinery brings design, manufacture, delivery and installation together around a defined project. That means the cabinet or fitted feature is developed as part of the room, rather than treated as a separate purchase. Drawings establish dimensions and details, manufacture turns them into physical components, and delivery and installation complete the work on site.
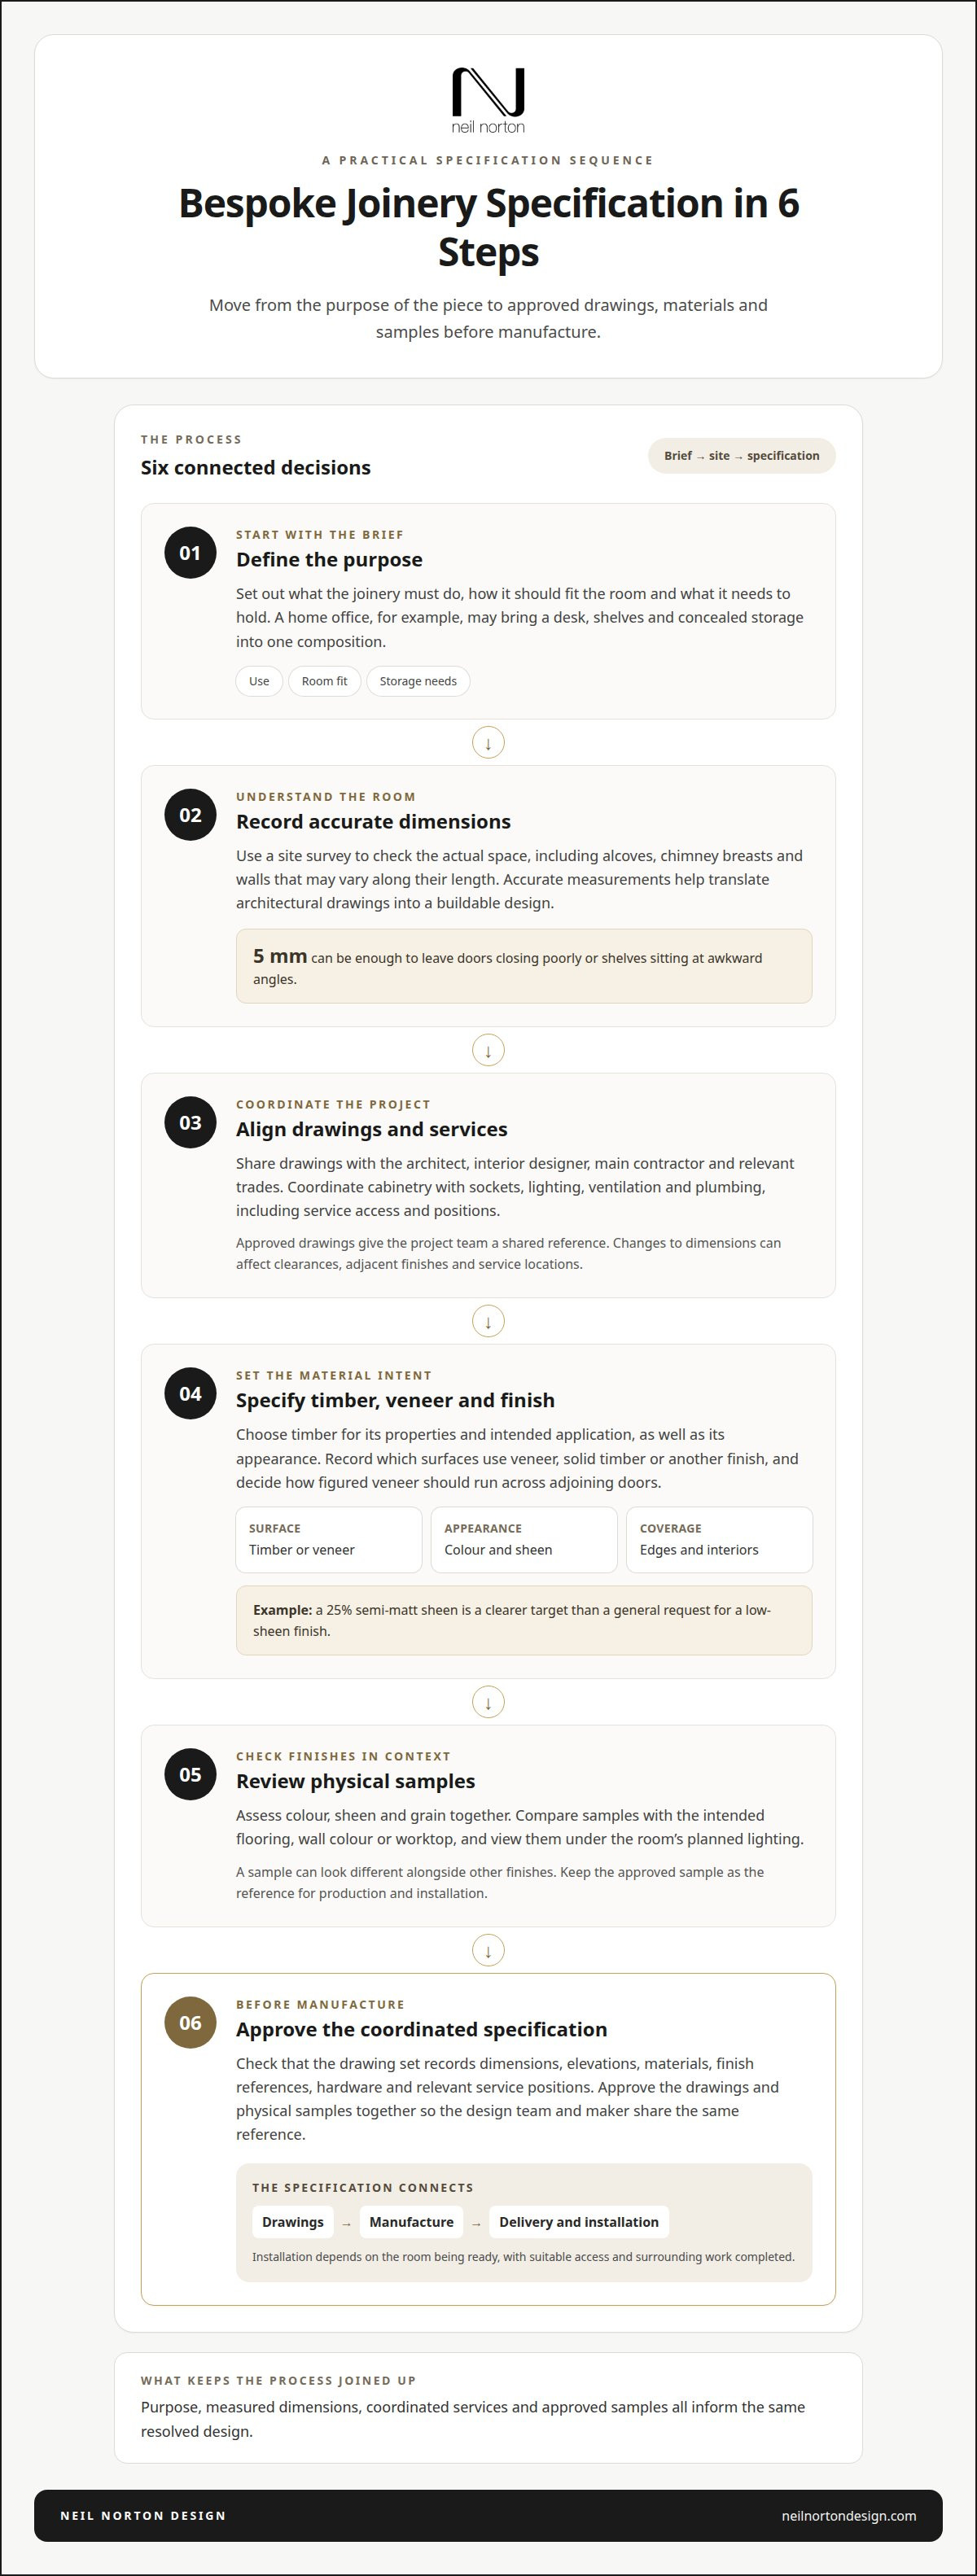
Each stage affects the next. A change to a cabinet’s depth can alter adjacent finishes, clearances or service positions, so approved drawings give everyone a shared reference. Installation also depends on the room being ready, with suitable access and the surrounding work completed. This connection between design and site delivery makes coordination essential.
Joinery tailored to space and purpose
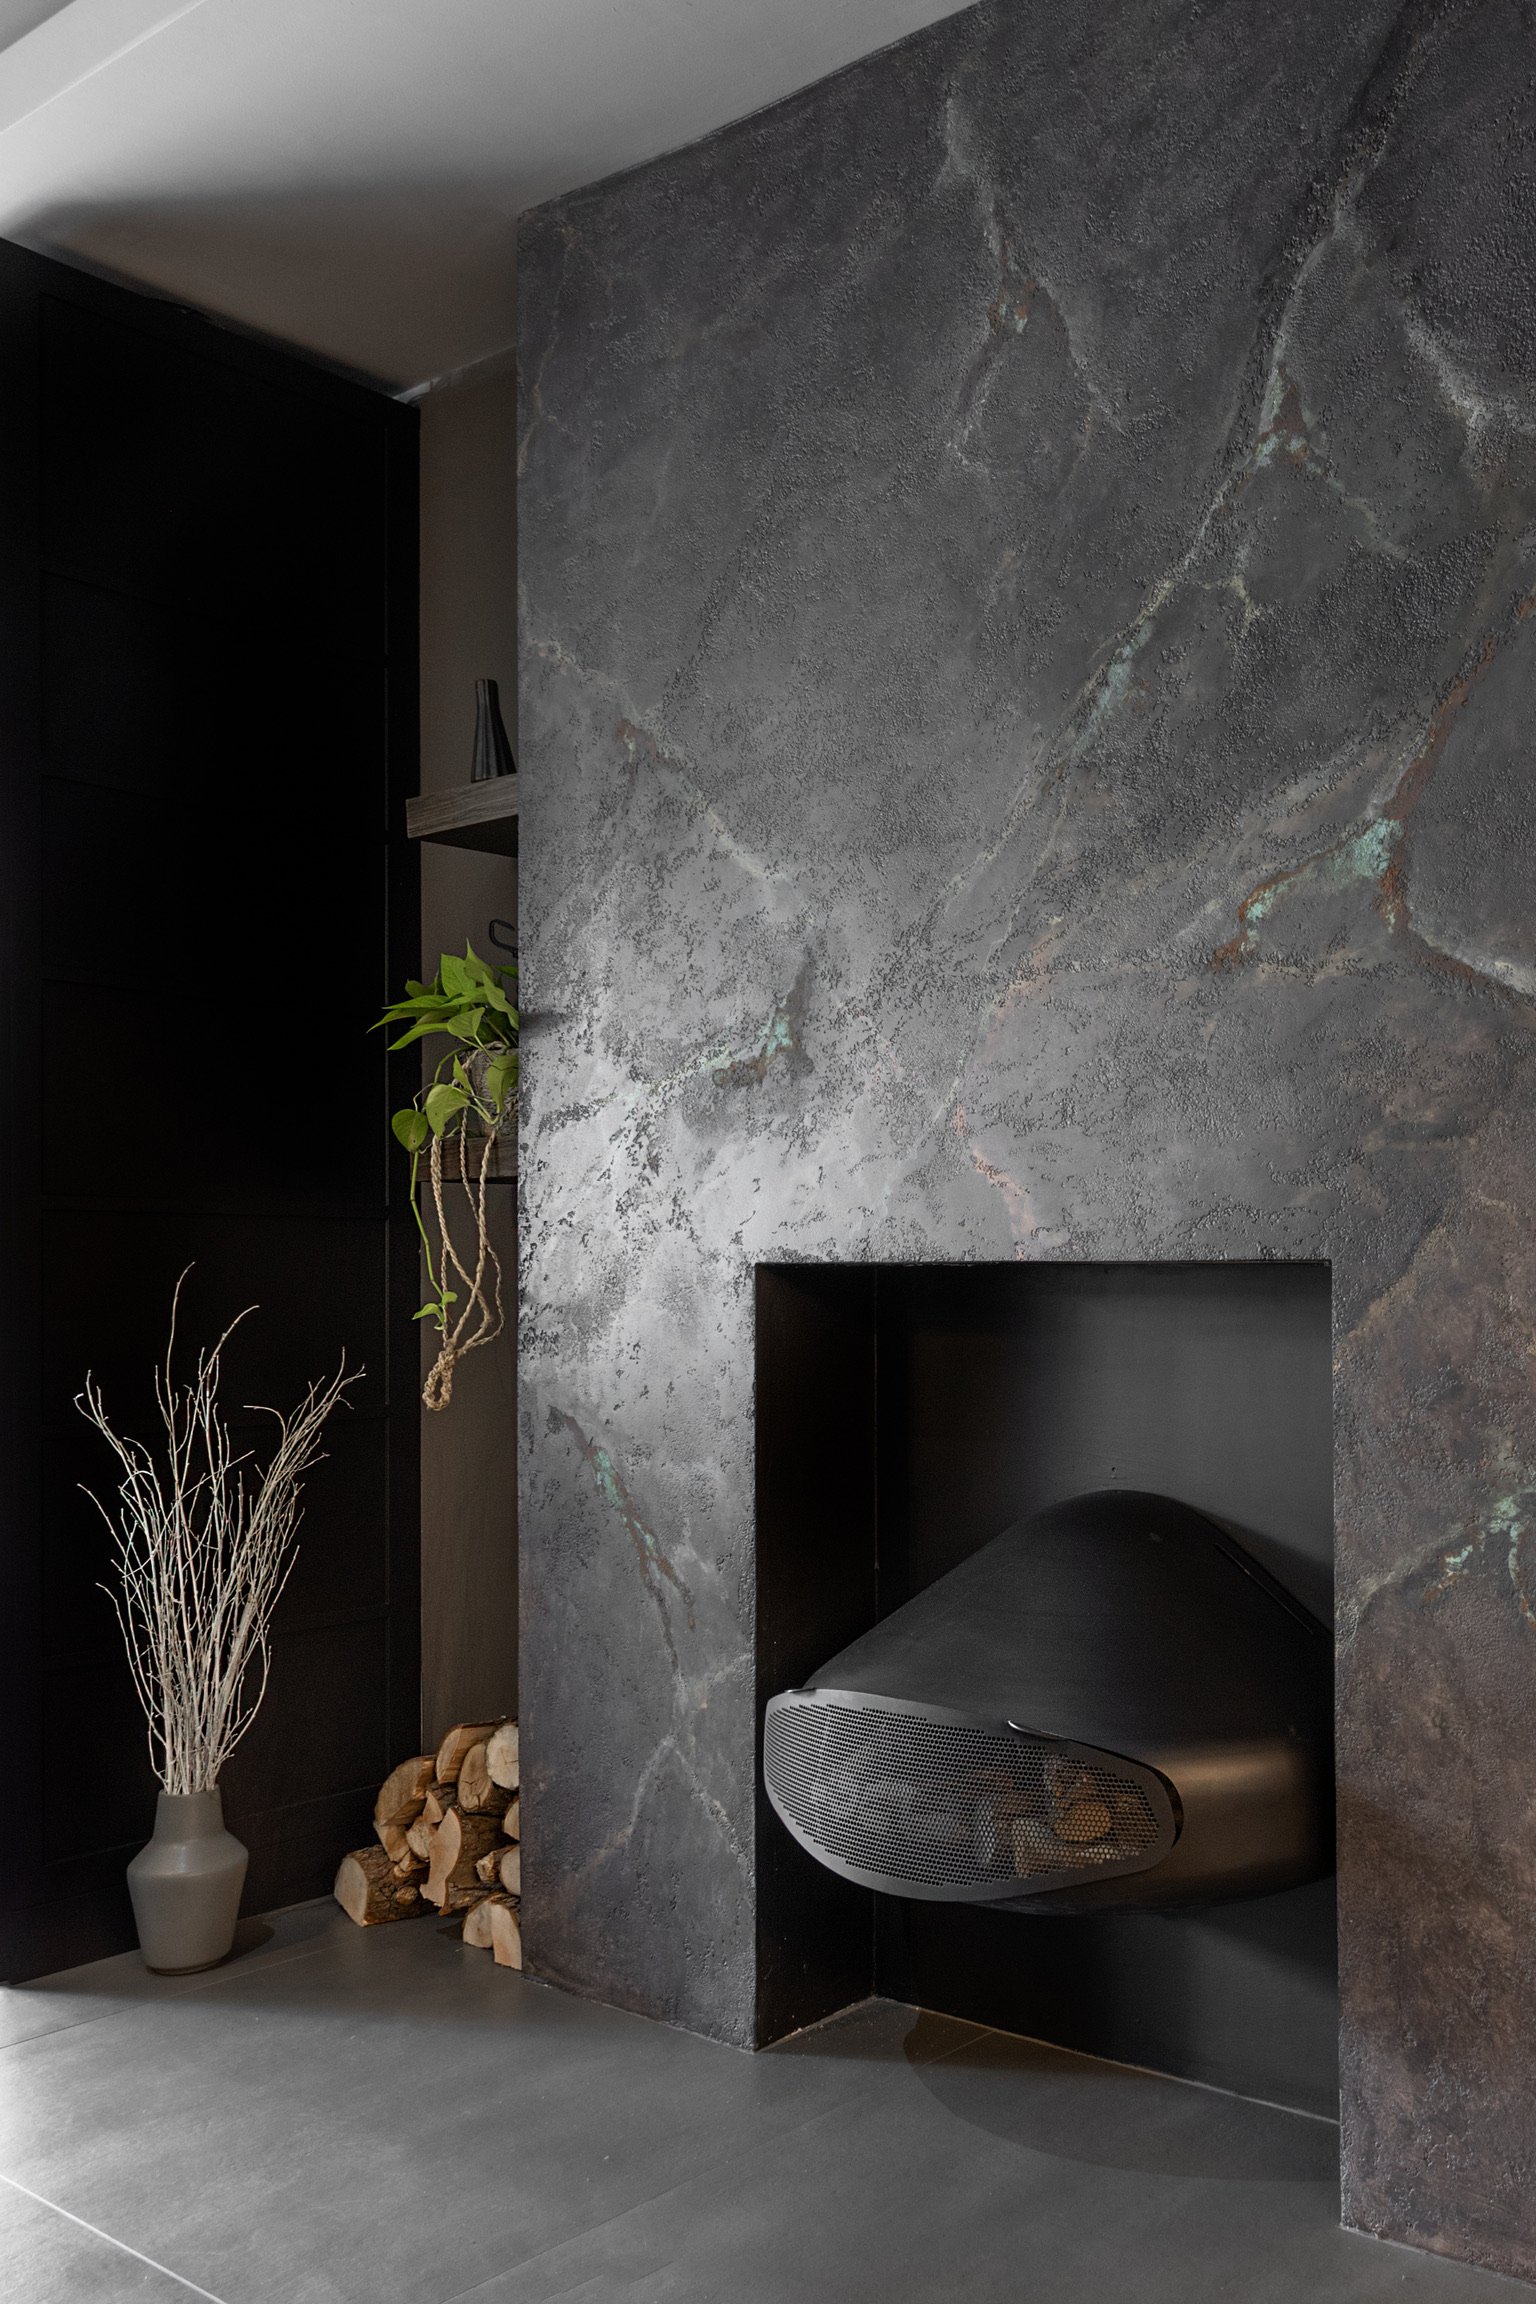
Custom-made joinery is shaped around the room’s geometry, its intended use and the interior design. For example, a cabinet beside a chimney breast can follow the available width and height while providing storage or display. In a kitchen, cabinetry can be arranged around the room’s layout and the items you need to store.
Purpose also guides the internal arrangement. A home office may need a desk, shelves and concealed storage in one composition, while an AV cabinet must accommodate its intended equipment. Clear drawings help resolve these relationships before manufacture. Even a 5 mm measurement error can leave doors closing poorly or shelves sitting at awkward angles.
Working with architects and interior designers
Collaboration gives architects and interior designers more control over how joinery relates to the wider scheme. They can develop proportions, finishes and junctions alongside the room’s architectural details. This flexibility supports a distinct design vision, whether the joinery frames an alcove, complements wall panelling or creates a continuous line across a space.
Early coordination also helps align cabinetry with sockets, lighting, ventilation and plumbing. Drawings can show where each service meets the joinery, helping the project team resolve access and placement before construction. This is especially useful when a design includes integrated lighting or a cabinet positioned around existing services.
Thermal performance needs consideration alongside appearance. The design can be coordinated with the room’s ventilation and planned building work, but joinery alone does not determine a room’s energy performance. Architects can consider the building fabric, openings and service routes when setting the joinery’s position. For example, a fitted cabinet beside a window should relate to the window and surrounding finishes.
For a London renovation, specifying bespoke joinery for a client project also means using accurate site information to translate architectural drawings into a buildable design. Walls may vary along their length, and an alcove may not match its drawn dimensions. A site survey informs the final setting-out, while drawings record the agreed sizes, junctions and service positions. These steps connect the original vision to the finished joinery.
Bespoke joinery can bring several functions into one composition. A fitted cabinet might combine closed storage, open display and a desk while maintaining a consistent line across the room. Its value lies in how each element responds to the space and its use. Dimensions, material choices and installation details all contribute to the result.
Specifying finish type, sheen, colour and durability
Specify the surface finish alongside the material, intended use and visual effect. Clear decisions help keep cabinetry and furniture consistent throughout the room.
Choosing finishes, sheen and colour
A finish specification records the coating, colour and sheen required for each visible surface. This matters because sheen changes how colour reads and how light moves across a cabinet. For example, a 25% semi-matt sheen gives the team a clearer target than a general request for a low-sheen finish. State whether the finish applies to interiors, exposed edges and matching panels.
Matching materials and veneers
Material and veneer choices determine the surface character and how the finished composition reads. If a design uses figured veneer, specify whether the leaves should be bookmatched or sequenced across adjoining doors. That choice affects the visual pattern, so resolve it before manufacture. Record which surfaces use veneer, solid timber or another finish, especially where materials meet.
Approving physical finish samples
Physical samples let you assess colour, sheen and grain together before sign-off. Review them beside the intended flooring, wall colour or worktop, and under the room’s planned lighting. A sample viewed alone may look different next to other finishes. Keep the approved sample as the reference for production and installation.
Before manufacture, the drawing set should show dimensions, elevations, material choices, finish references, hardware and relevant service positions. Approve the coordinated drawings and physical samples together, so the design team and maker share the same reference. This is particularly useful where a kitchen cabinet meets a worktop, wall finish or lighting detail.
Surface preparation also affects the final appearance. The specification should identify which faces receive each finish and describe the intended result on visible edges and internal surfaces. For painted furniture, consistent preparation helps avoid differences between doors, panels and exposed edges. For veneered fronts, agree on grain direction and sequence before finishing begins.
Durability should reflect how each surface will be used. A kitchen door, display cabinet and home bar face different handling and cleaning demands. Specify the intended use, required finish and any care instructions for handover. This gives the maker a practical basis for selecting and applying finishes, rather than relying on colour alone.
Written warranty terms should state whether they cover issues such as warping, hardware failure or finish degradation caused by poor manufacture or installation. Specify maintenance guidance and handover documents too, including cleaning advice, door and drawer adjustment, and instructions for any special features.
For a coordinated finish schedule, discuss your design requirements before the specification is signed off.
Collaborating with main contractors, architects and suppliers
Joinery must be coordinated with the people designing, building and finishing the room. Early communication gives the project team a shared understanding of dimensions, interfaces and installation sequence.
Collaboration from concept through installation
Collaboration means coordinating the joinery design with the architect, interior designer, main contractor and relevant suppliers from concept to installation. This matters because each component meets other work on site. A cabinet beside a wall light, for example, needs its position and electrical route resolved together, not after the wall has been finished.
Drawings give the team a common reference for dimensions, finishes and junctions. The main contractor can use them to coordinate site preparation, while suppliers can align appliances, handles or lighting with the design. During installation, clear information helps the team position each piece in relation to flooring, decoration and adjacent components.
Involving the joinery company early
Early involvement brings joinery expertise into the design while important decisions remain open. This matters when an architect is setting room proportions or planning service locations, because cabinetry can respond to those choices. A late change may mean moving sockets, altering finished work or accepting an awkward compromise.
Include the joinery package in the project programme, with design approvals and installation sequenced alongside flooring, decoration and services. This helps the team plan when the room must be ready and how access will be managed. It also leaves time to resolve detailed interfaces before work reaches site.
For the homeowner, collaboration starts with a clear account of how the space should function and feel. The interior designer can translate that vision into the wider scheme, while the joinery team develops practical details for manufacture and fitting. If a dining table must relate to fitted cabinetry, for example, consider its dimensions and finish as part of the same room composition.
Responsibilities should be clear in the project documents. The architect’s drawings may establish the room layout, while joinery drawings record the specific pieces, interfaces and installation requirements. The main contractor coordinates site trades, and suppliers provide information about their products. Consistent drawing revisions help prevent team members from working from conflicting details.
Suppliers matter wherever their products meet the joinery. An appliance supplier’s dimensions can affect a cabinet opening, while an electrician’s lighting plan can affect internal clearances. Bring those details into coordination before manufacture. This supports a considered design and helps preserve the intended appearance, practical function and durability of the completed work.
Communication continues during installation. The installation team can identify site conditions that differ from the agreed drawings and coordinate a response with the project team. Recording decisions helps the architect, contractor and client understand any adjustment. This joined-up process connects design intent with the finished pieces without leaving critical details to the last moment.
Choosing timber for its properties and application
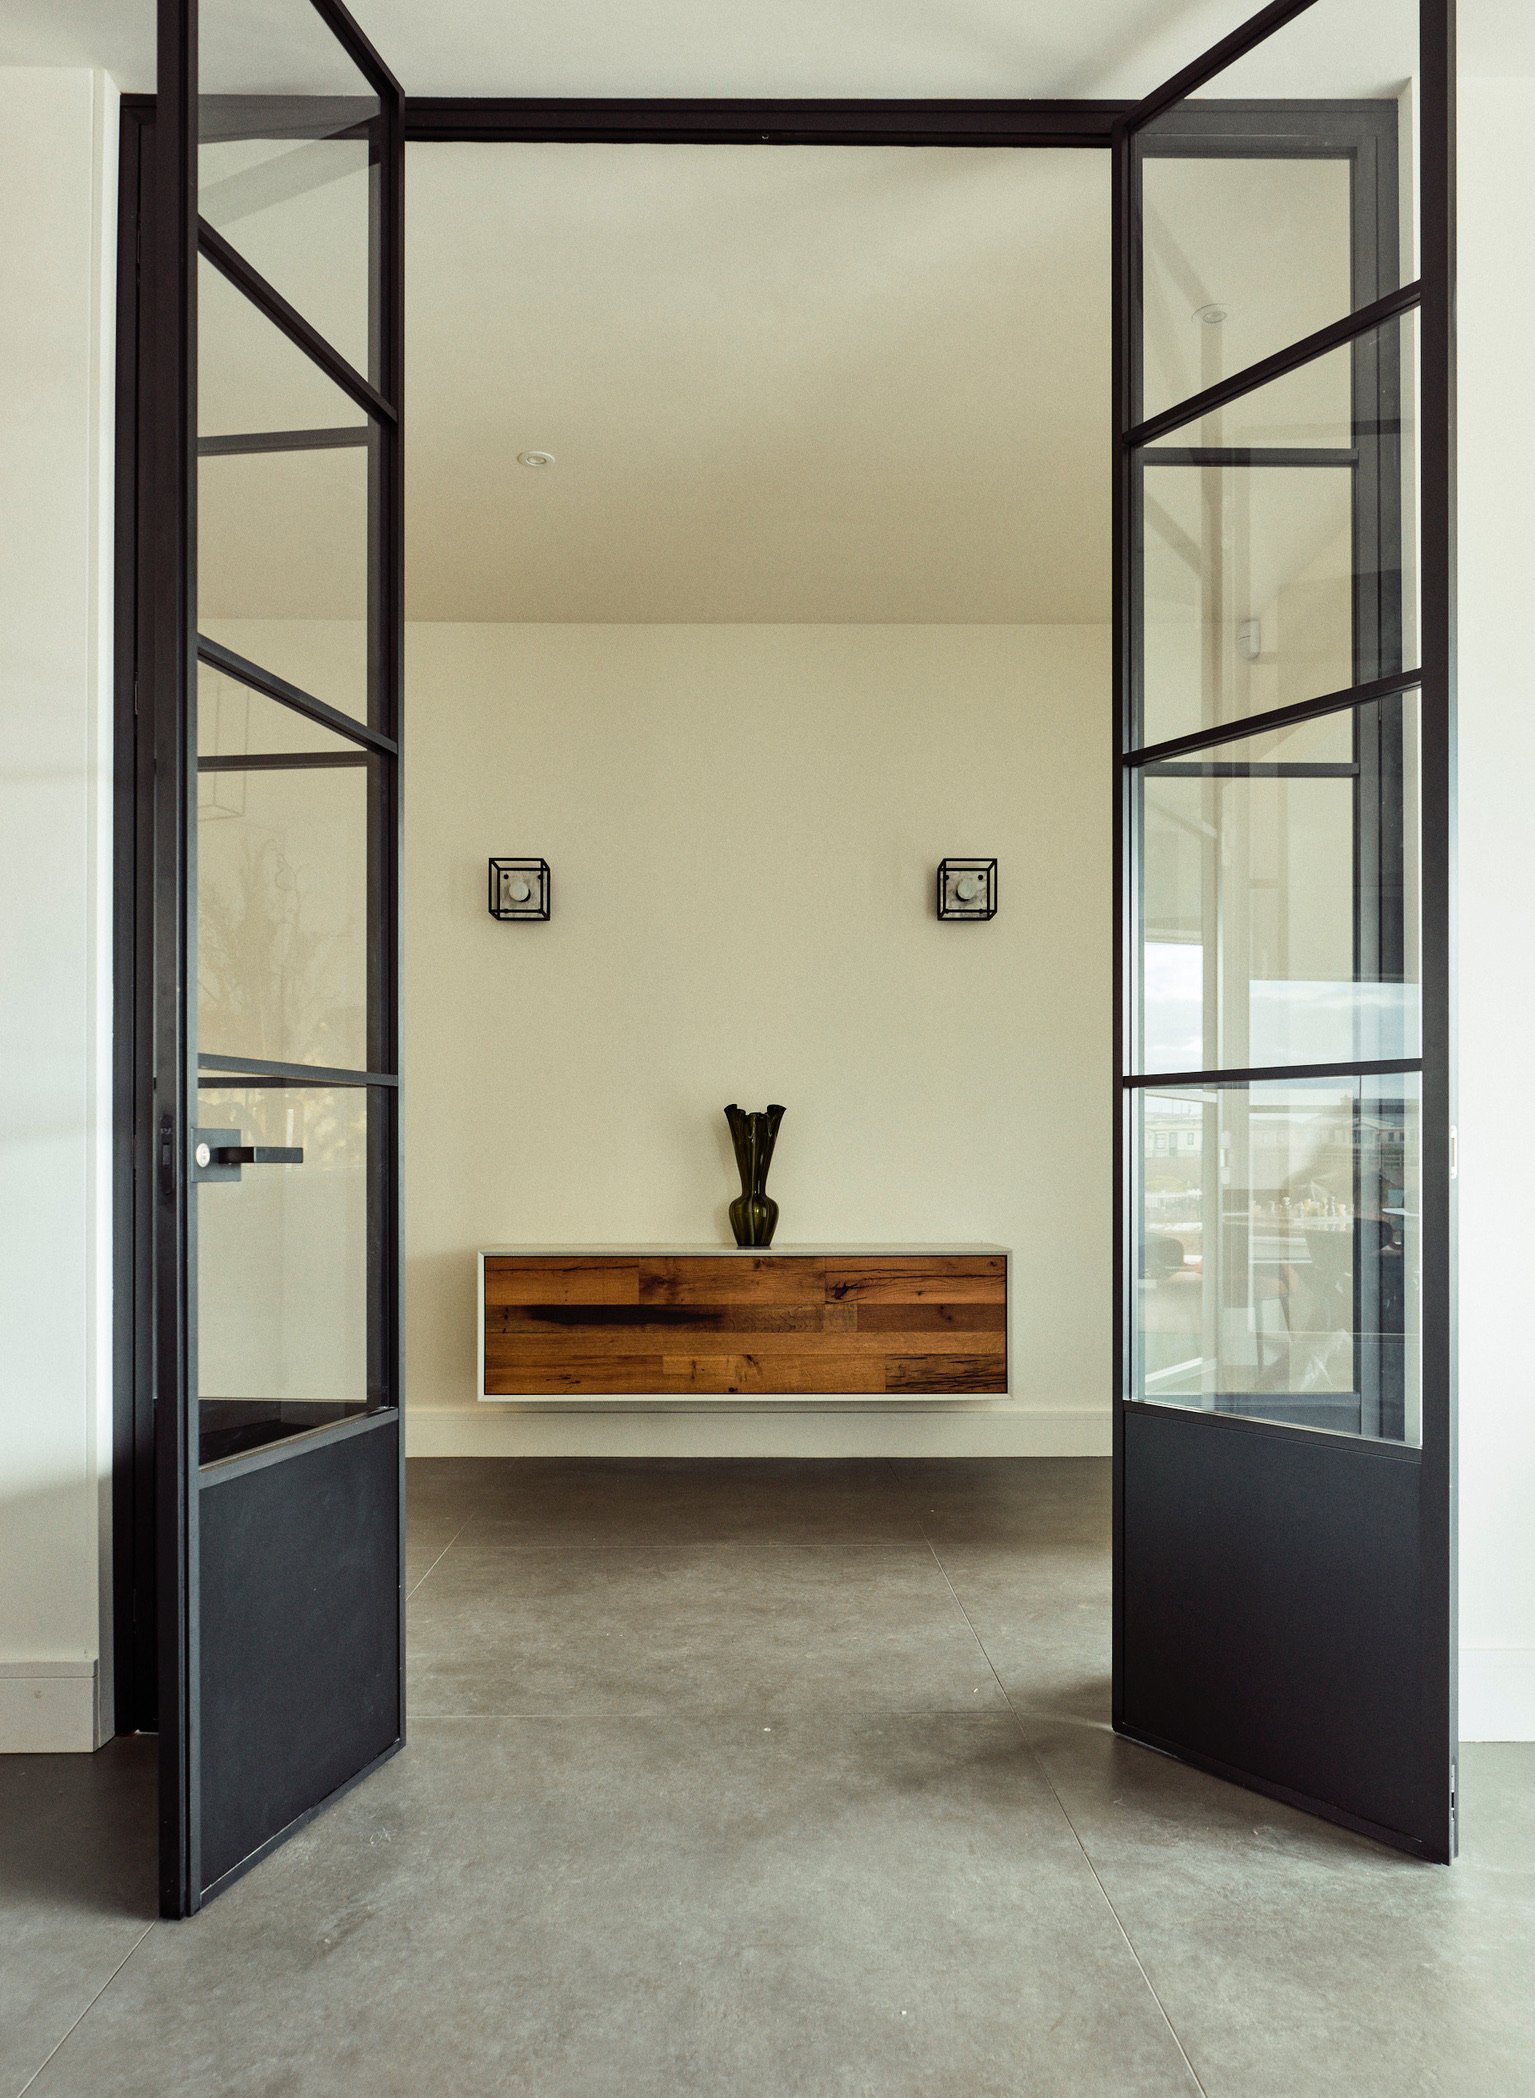
Choose timber for its intended use, appearance and construction method, not appearance alone. Each species behaves differently, so the right choice for a fitted wardrobe may not suit a window or exposed feature. Your specification should connect the timber to its setting, finish and required performance. This supports material honesty and helps the design remain coherent across the room.
Oak has a distinctive grain, but its interaction with other materials needs attention. In the presence of moisture, oak can react with iron or steel and develop black staining. Where an oak surface sits beside metalwork, the design details should account for this risk. Identify metal components and their locations in the specification so the maker can resolve the interface before manufacture.
Accoya is modified timber described as resistant to rot and distortion, making it suitable for windows, doors and applications with high exposure. It is also an alternative to tropical hardwoods, with the potential for a high-end finish and reliable longevity. For a London project, consider each component’s exposure and function before selecting it. Suitability depends on the timber’s properties and construction.
Sustainability can also influence material selection. Reclaimed timber gives existing material a new purpose and can create a distinctive feature. The Victoria Street project in London included a feature bar eight metres long, clad with repurposed reclaimed timber. In a London home, reclaimed boards could form a focal surface alongside fitted cabinetry, provided their character suits the wider design.
Feature timber need not be limited to furniture. Timber wall or ceiling cladding can bring texture to a larger architectural surface. In a London renovation, a timber ceiling could sit alongside fitted cabinetry in a related finish, creating visual continuity without making every surface identical. Specify where the cladding begins and ends, and how it meets adjoining walls, lighting and joinery.
Specify where each timber will appear, how it will meet adjoining materials and which finish it needs. A ceiling treatment has different visual prominence from an internal cabinet surface. Agreeing grain direction and finish alongside the room palette helps each component contribute to a considered scheme. These decisions also help the joinery team plan how to use the selected timber.
Finally, relate the material schedule to the project’s scope and budget. Reclaimed timber may be reserved for a focal area, with other surfaces finished to complement it. This makes the choice intentional rather than incidental. Linking each timber to its application gives the project team a clear basis for design, manufacture and installation.
Defining the project brief and intended purpose
Bespoke joinery is made for a particular client, space and purpose. A useful brief explains what the piece must do, how it should look and which construction constraints shape it. For example, a fitted bookcase might follow an alcove, store large volumes and frame a fireplace. Defining those priorities gives the design a clear purpose.
Start with function, then describe the desired aesthetic. A home office may need a generous desk, concealed paperwork storage and shelves for reference books. A dining space might call for a table sized for everyday use and suited to nearby cabinetry. Stating what matters most helps the design balance practical use with the room’s character.
Drawings and a short written explanation make the brief easier to interpret. Include the intended position, approximate dimensions and any fixed features, such as a chimney breast, sloping ceiling or structural column. In a London period property, an uneven alcove can affect how a fitted piece meets the wall. Those details influence both the design and its construction.
Record constraints before developing the design. These may include restricted access, existing services, listed-building considerations or work already scheduled by the main contractor. For example, a cabinet beside a socket needs to account for its position and access. Clear information helps the project team coordinate the joinery with the wider programme, rather than treating it as a separate task.
A complete brief also identifies how the joinery relates to other elements. Note where flooring, skirting, wall finishes, lighting or appliances meet the proposed piece. For a kitchen, show how cabinetry relates to the room layout and planned appliance positions. For a study, show how the desk, shelves and storage support the way you work. These connections help turn design intent into useful drawings.
Decide which requirements are essential and which can change. A brief might prioritise storage capacity over open display, or uninterrupted workspace over decorative detail. That distinction helps the designer resolve competing demands without losing the central vision. It also clarifies later decisions if dimensions, materials or construction details need adjustment.
Bespoke joinery is most useful when it answers a specific spatial, functional or architectural need. A fitted piece can combine storage, seating and display where each function belongs in the room. If a freestanding table or cabinet already meets the brief, it may offer greater flexibility. Let the intended purpose guide the decision, rather than assuming every space needs fitted work.
Before approving the specification, make sure the drawings reflect the agreed purpose, constraints and aesthetic. The client, designer, architect and joinery team can then work from the same set of decisions. This shared reference supports accurate manufacture and installation, keeping craftsmanship aligned with the original brief.
Neil Norton Design: Bespoke kitchens
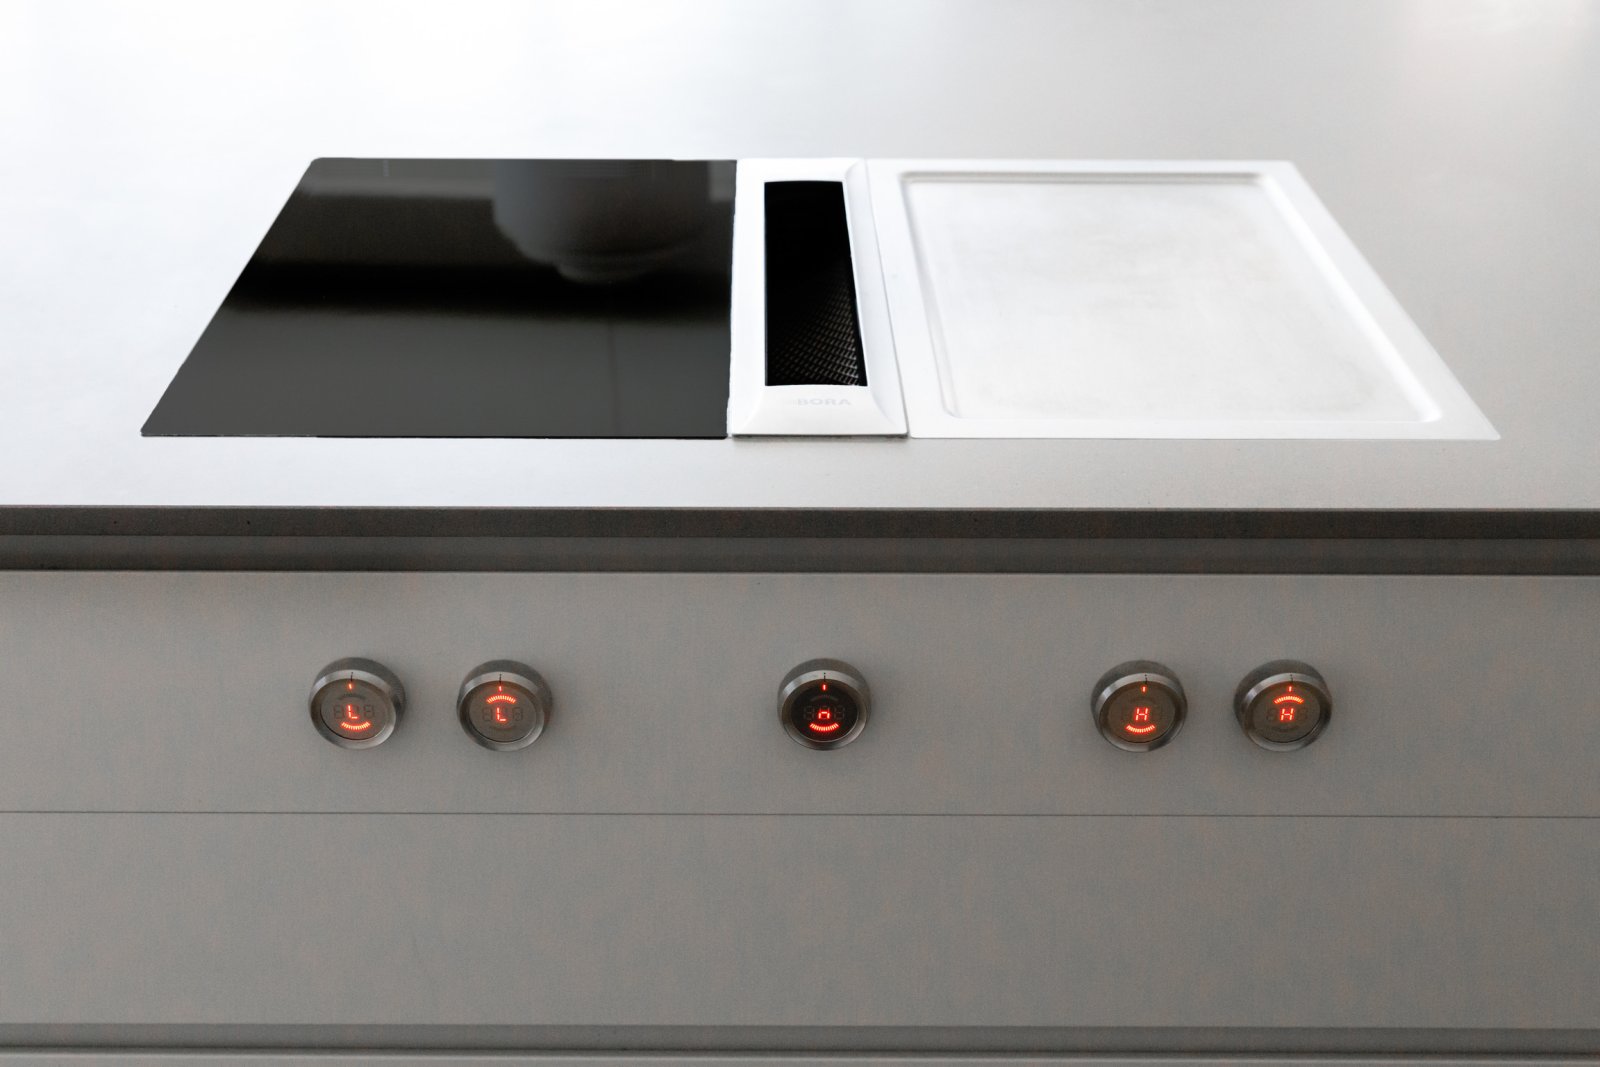
Neil Norton Design brings bespoke joinery from design through manufacture, delivery and installation, making it a natural next step when your project needs a coordinated, made-to-measure result. For a kitchen, the cabinetry can be developed around the room’s dimensions, materials and intended use. The same considered process applies to fitted and freestanding furniture, home offices and studies, and home bars with drinks and wine storage.
For interior designers and architects, Neil Norton Design can make and install their designs in collaboration with the project team. This keeps the authorship of the scheme with its designer while resolving the joinery details for manufacture and fitting. Explore bespoke kitchen design as one example of this tailored work.
Turn your joinery vision into a considered brief
The next step is to bring your design intent into one clear project conversation. When specifying bespoke joinery for a client project, treat the brief as a working foundation: connect how you want the space to feel with the practical decisions that shape its finished form.
Neil Norton Design works with homeowners and interior designers to develop bespoke joinery as part of a wider project. A design consultation gives you an opportunity to discuss your proposed space, intended use and design direction, then consider how the joinery can support them. For an interior designer, it is a chance to discuss how your design can be carried through manufacture and installation.
With a clear brief and the right project team, your ideas can become purposeful, lasting details within your home.
Frequently Asked Questions
How do I measure a room accurately for fitted joinery?
Make a clear room sketch and label each measurement beside the wall or opening it describes. Mark which readings are direct measurements and which are estimates from drawings. Note the positions of radiators, pipework, switches and other fixed obstructions, then photograph them in context. This creates a useful record for design discussions without relying on memory or disconnected measurements.
What should I include in a joinery design brief?
Include the project stage, intended users, design references and the person responsible for approving decisions. Add a short list of priorities, such as ease of cleaning, concealed storage or a particular visual effect. Identify which existing elements must remain, too. This gives the designer a practical framework for resolving competing preferences and keeps the brief useful as the scheme develops.
Where should you spend the budget?
Prioritise elements that directly affect daily use or the room’s overall composition. For example, well-considered drawer interiors may matter more in a frequently used dressing room than decorative details on less visible surfaces. Decide which features are essential before choosing refinements. This keeps decisions focused on how you use the space, rather than spreading attention equally across every detail.
What information should a bespoke joinery specification include?
Alongside the design details, include document control information: the drawing revision, approval status and date of each agreed change. Record who is responsible for supplying or completing each related item, such as appliances or decorative finishes. State any exclusions from the joinery package. These records help the homeowner, designer and contractor understand the agreed scope and avoid relying on informal assumptions.
How do I measure and survey a site for bespoke joinery?
Separate an early survey used to develop the design from the final survey used to confirm site conditions before manufacture. Early information supports planning; a later record can account for completed building work and final surface levels. Label both records clearly so preliminary dimensions are not mistaken for final setting-out information. This distinction is particularly useful during a staged London renovation.
What materials and finishes are suitable for bespoke joinery?
Choose materials by considering how they feel in daily use, how they age and how they relate to the room’s character. A prominent feature may call for distinctive grain, while quieter surfaces can support a restrained scheme. Consider the routine care each surface will need, too. The most suitable selection balances the intended look with how you expect to use the piece.
How much does bespoke joinery cost in the UK?
The scope of a bespoke joinery project depends on its scale, detailing, selected materials and installation requirements. A focused piece and a coordinated scheme across several rooms call for different specifications. To assess a project meaningfully, the design information needs to describe what is included and how the work relates to the wider renovation. No single figure applies to every bespoke brief.
How should bespoke joinery be detailed for accessibility and safe use?
Plan the arrangement around the people who will use it, including their reach, mobility and preferred way of handling doors and drawers. Choose comfortable grips and avoid placing frequently used items in awkward positions. Consider contrasting finishes where they help distinguish edges or controls. Clear floor space around furniture also supports easier movement through the room.
Comments